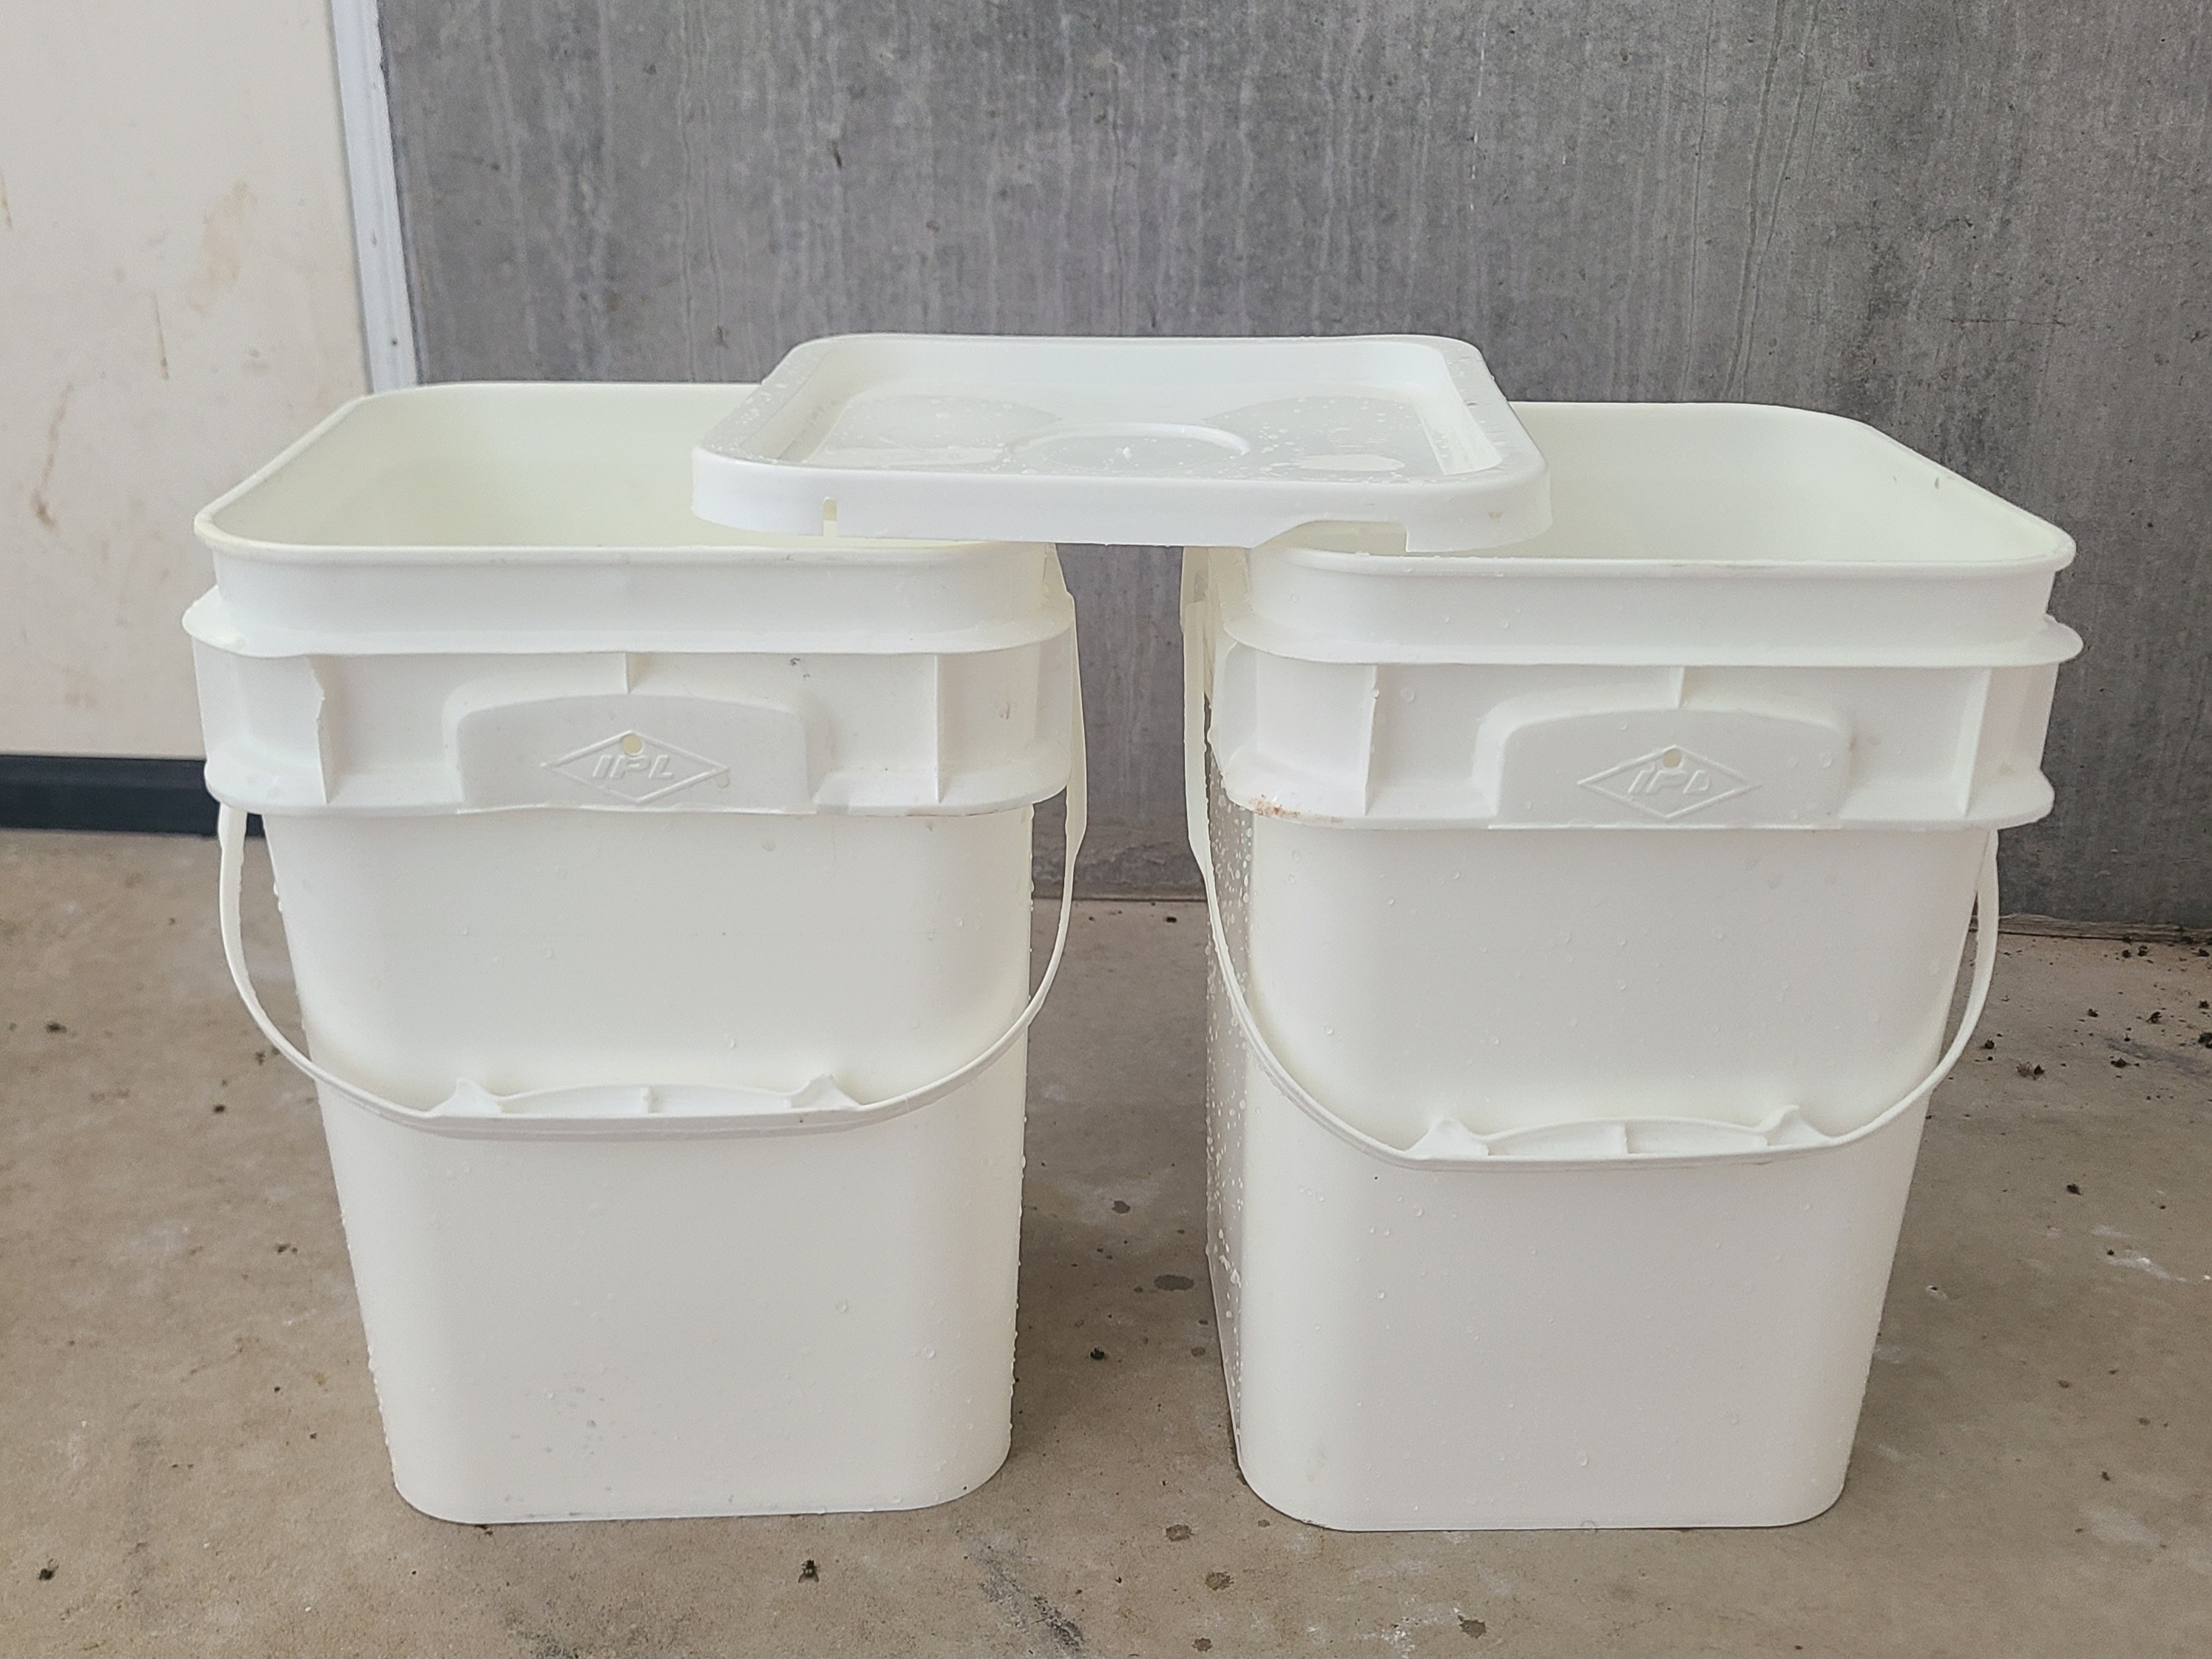
Material List
The materials that i chose to use, were readily available for me which resulted in a minimal cost requirement to make the system. If you wanted to, you could go out and purchase top of the line equipment and tools to achieve the same result. The choice is yours.
-
2x 4 Gallon pails
-
1x Lid
-
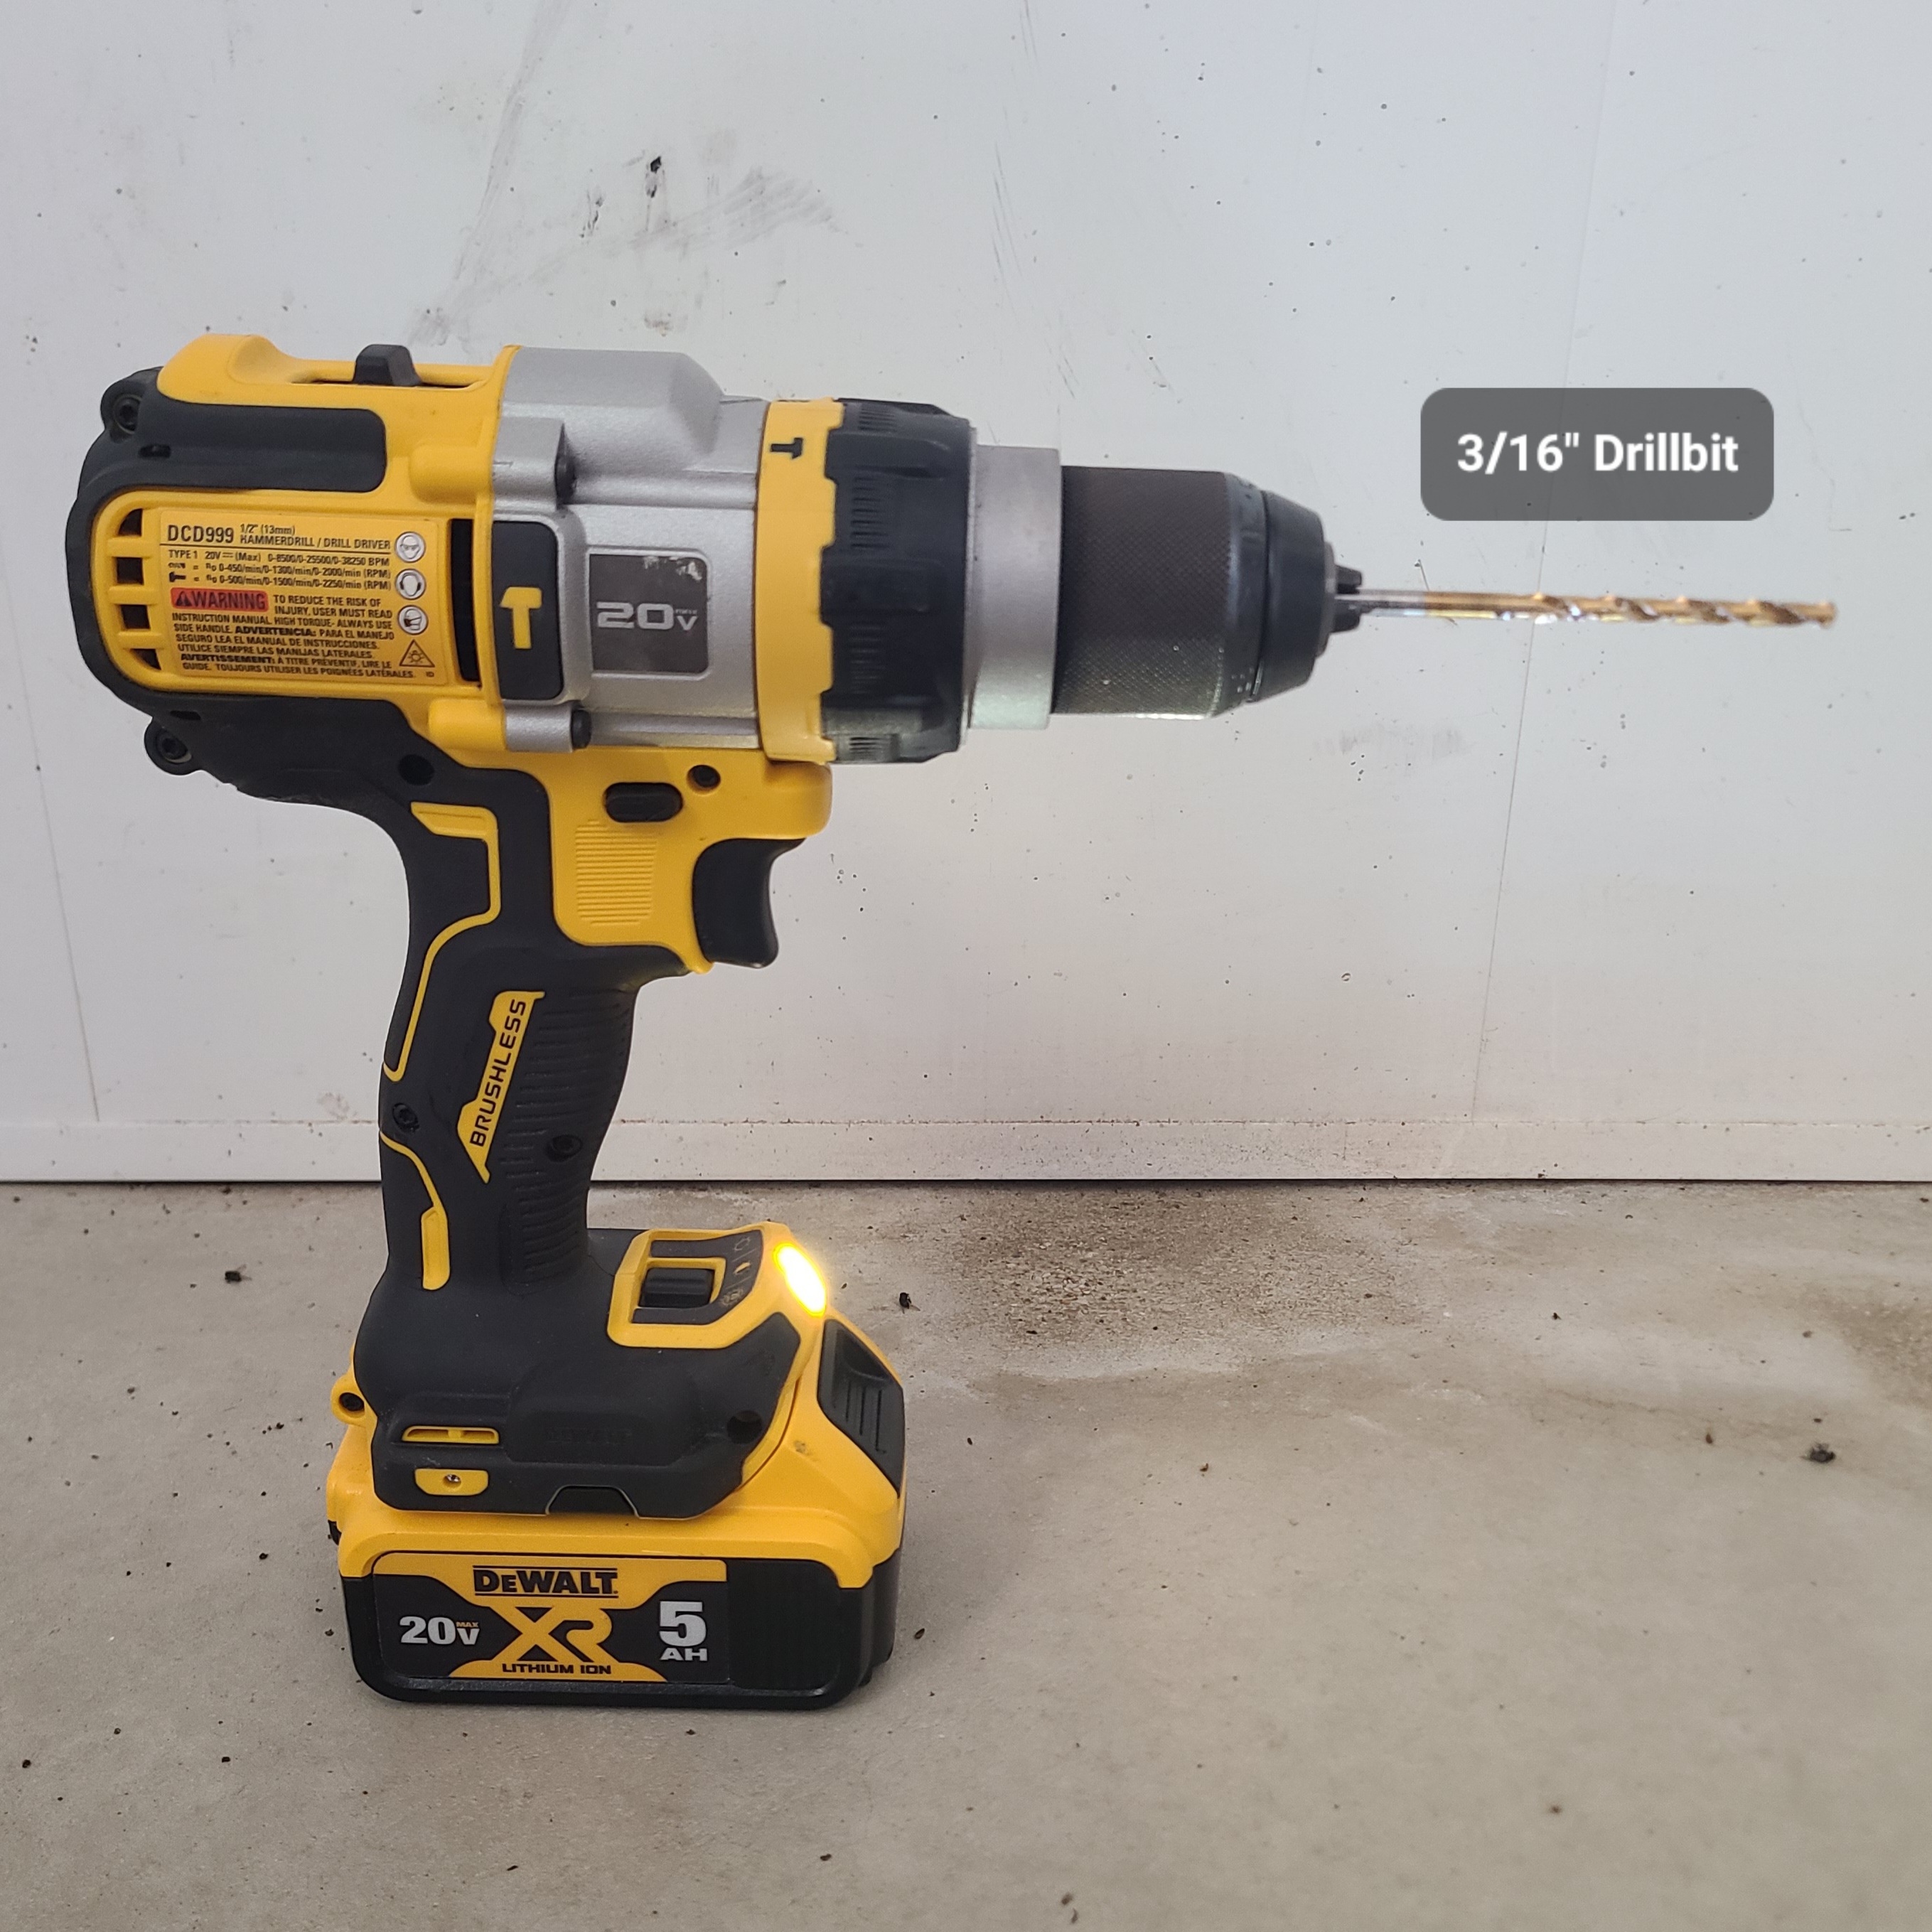
3/16" Drill bit
-
Tool to rotate drill bit
-
Item to maintain separation between the 2 buckets.
- Can be anything from a couple pieces of PVC pipe to a rock or two, you are just looking to create some separation between the two buckets as they are stacked together.
-
Bokashi Substrate
Material Visual
Drill bit + Drill
I chose a 3/16" drill bit because it looked like the correct size to use.
Do you want to try a
1/4"? Go for it
1/8"? Give it a shot
1/2"? Why not?
The main concept i was going for was to create a hole that was big enough to allow liquid to drain, but small enough to keep bigger materials out of the captured liquid.
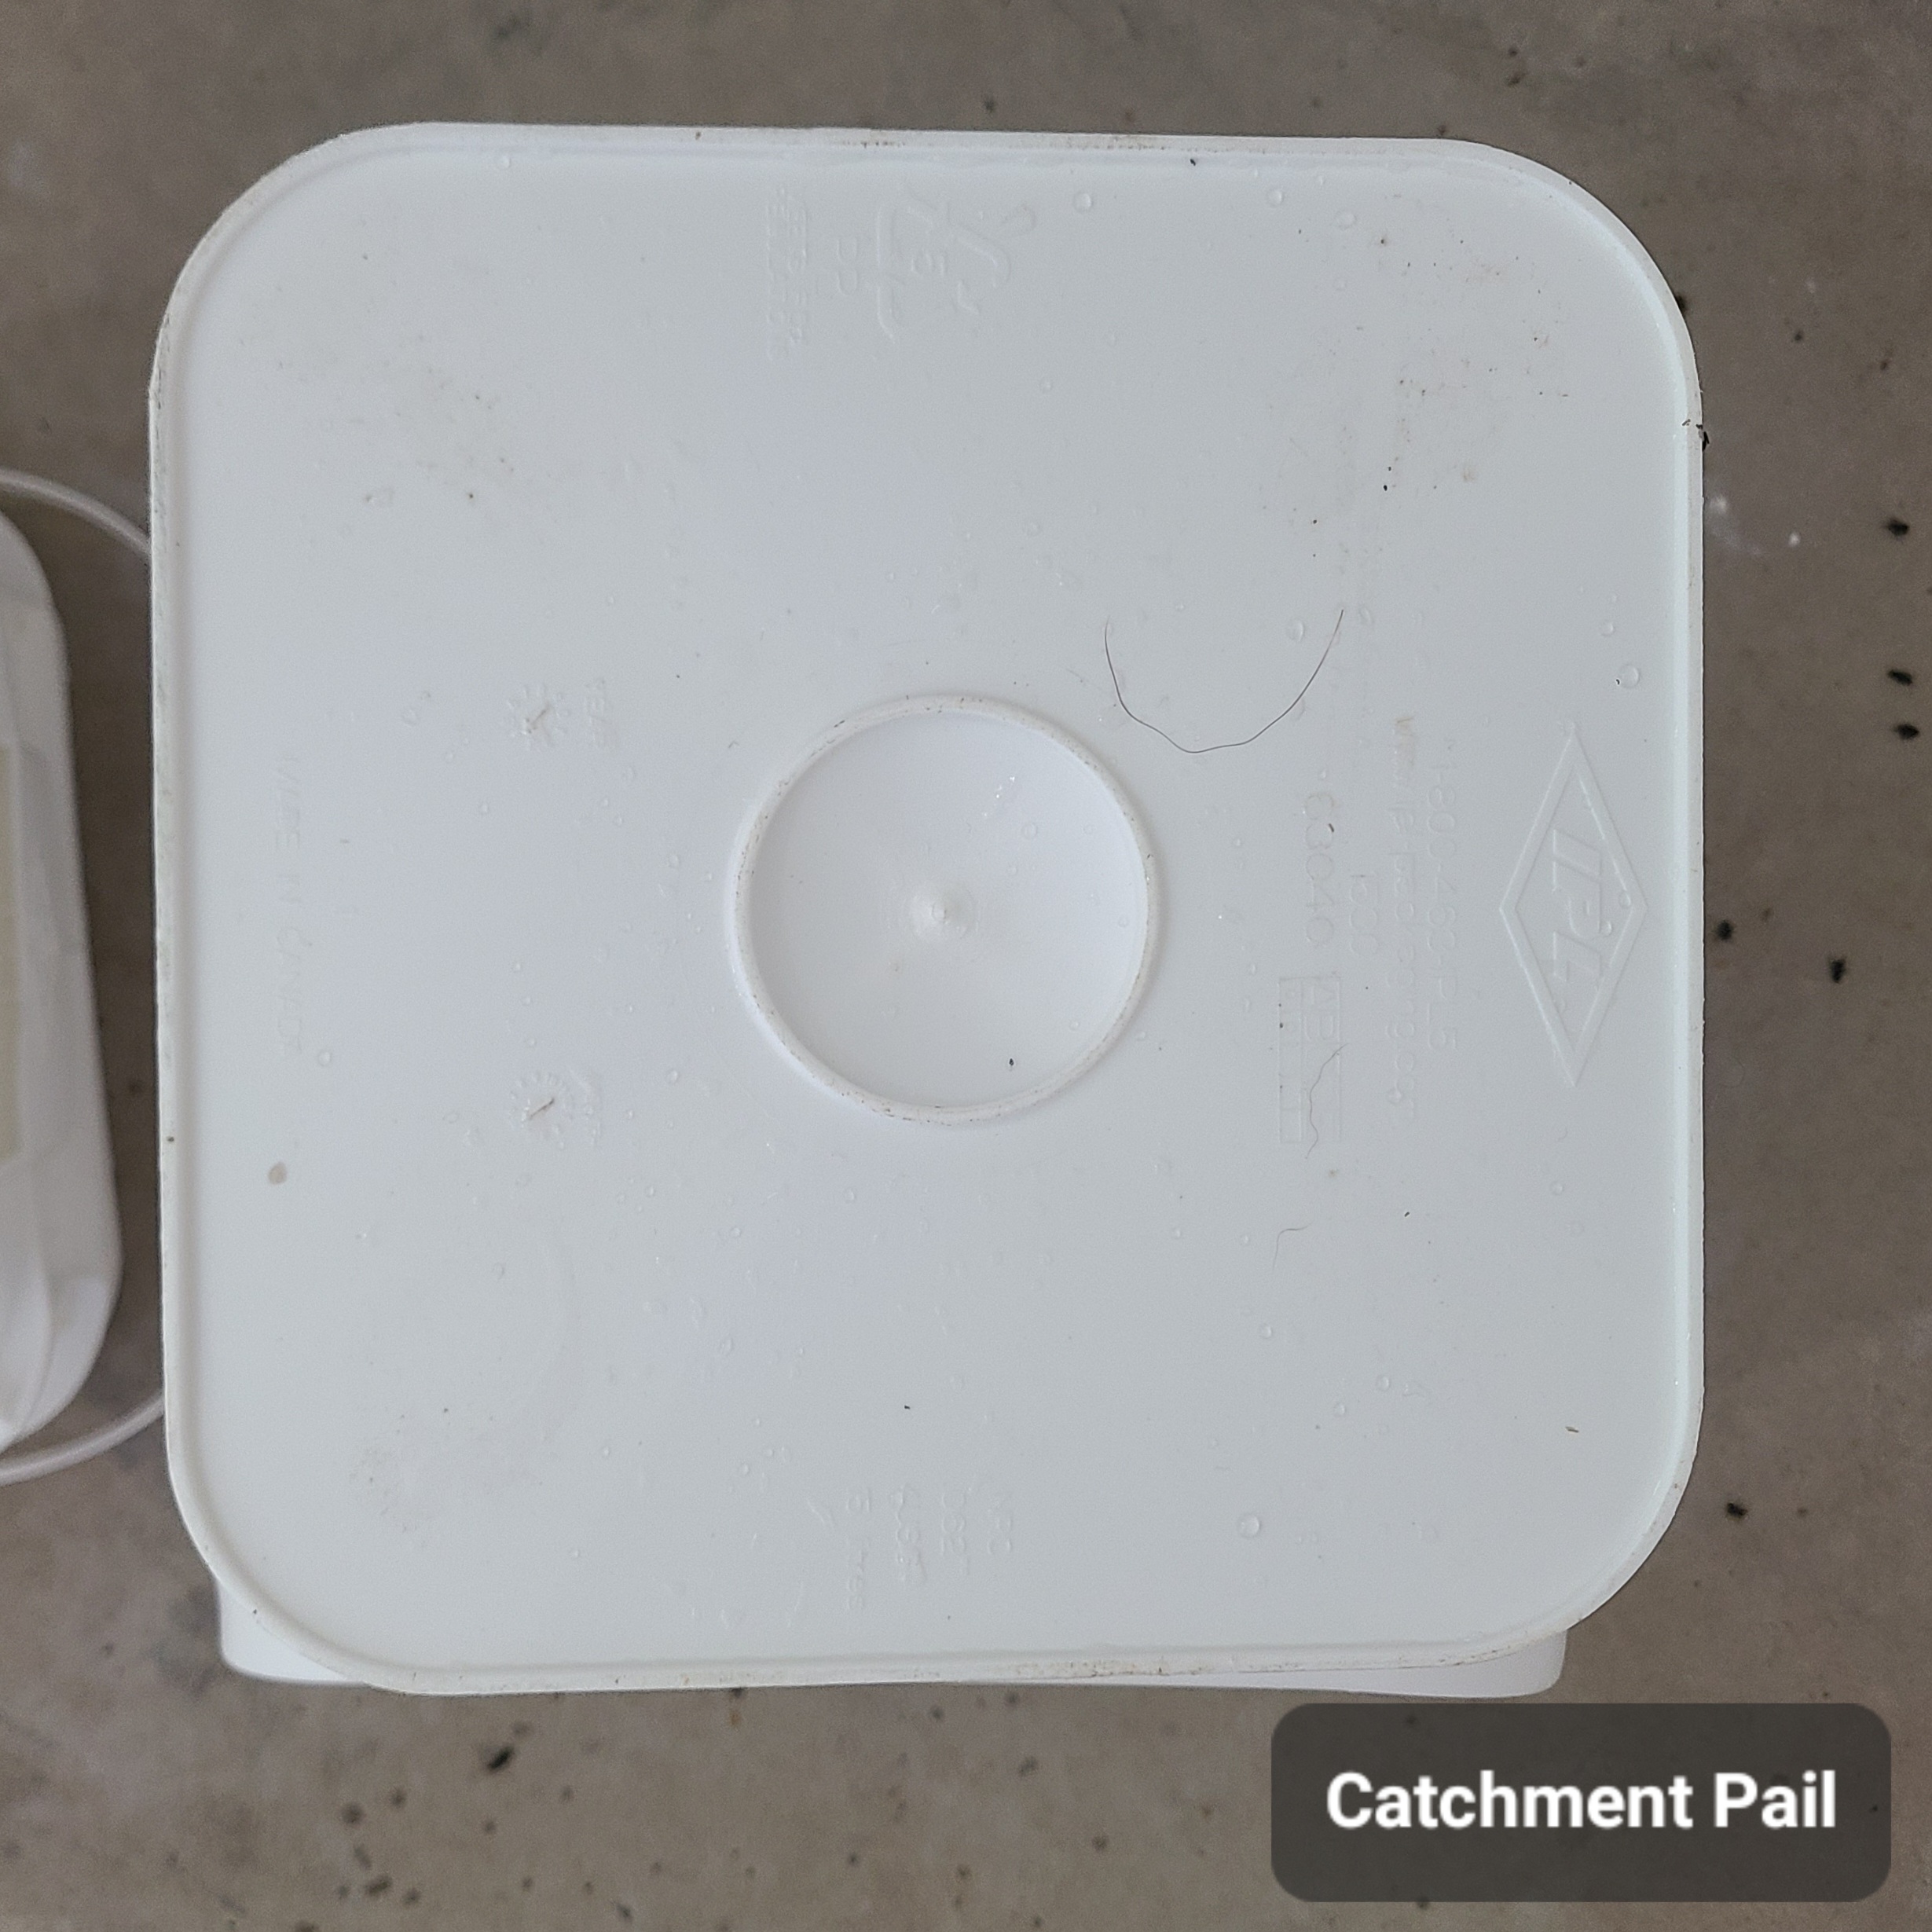
Catchment Pail
This pail is the one that will be what catches the leachate from the top pail as the bokashi breaks down the food scraps.
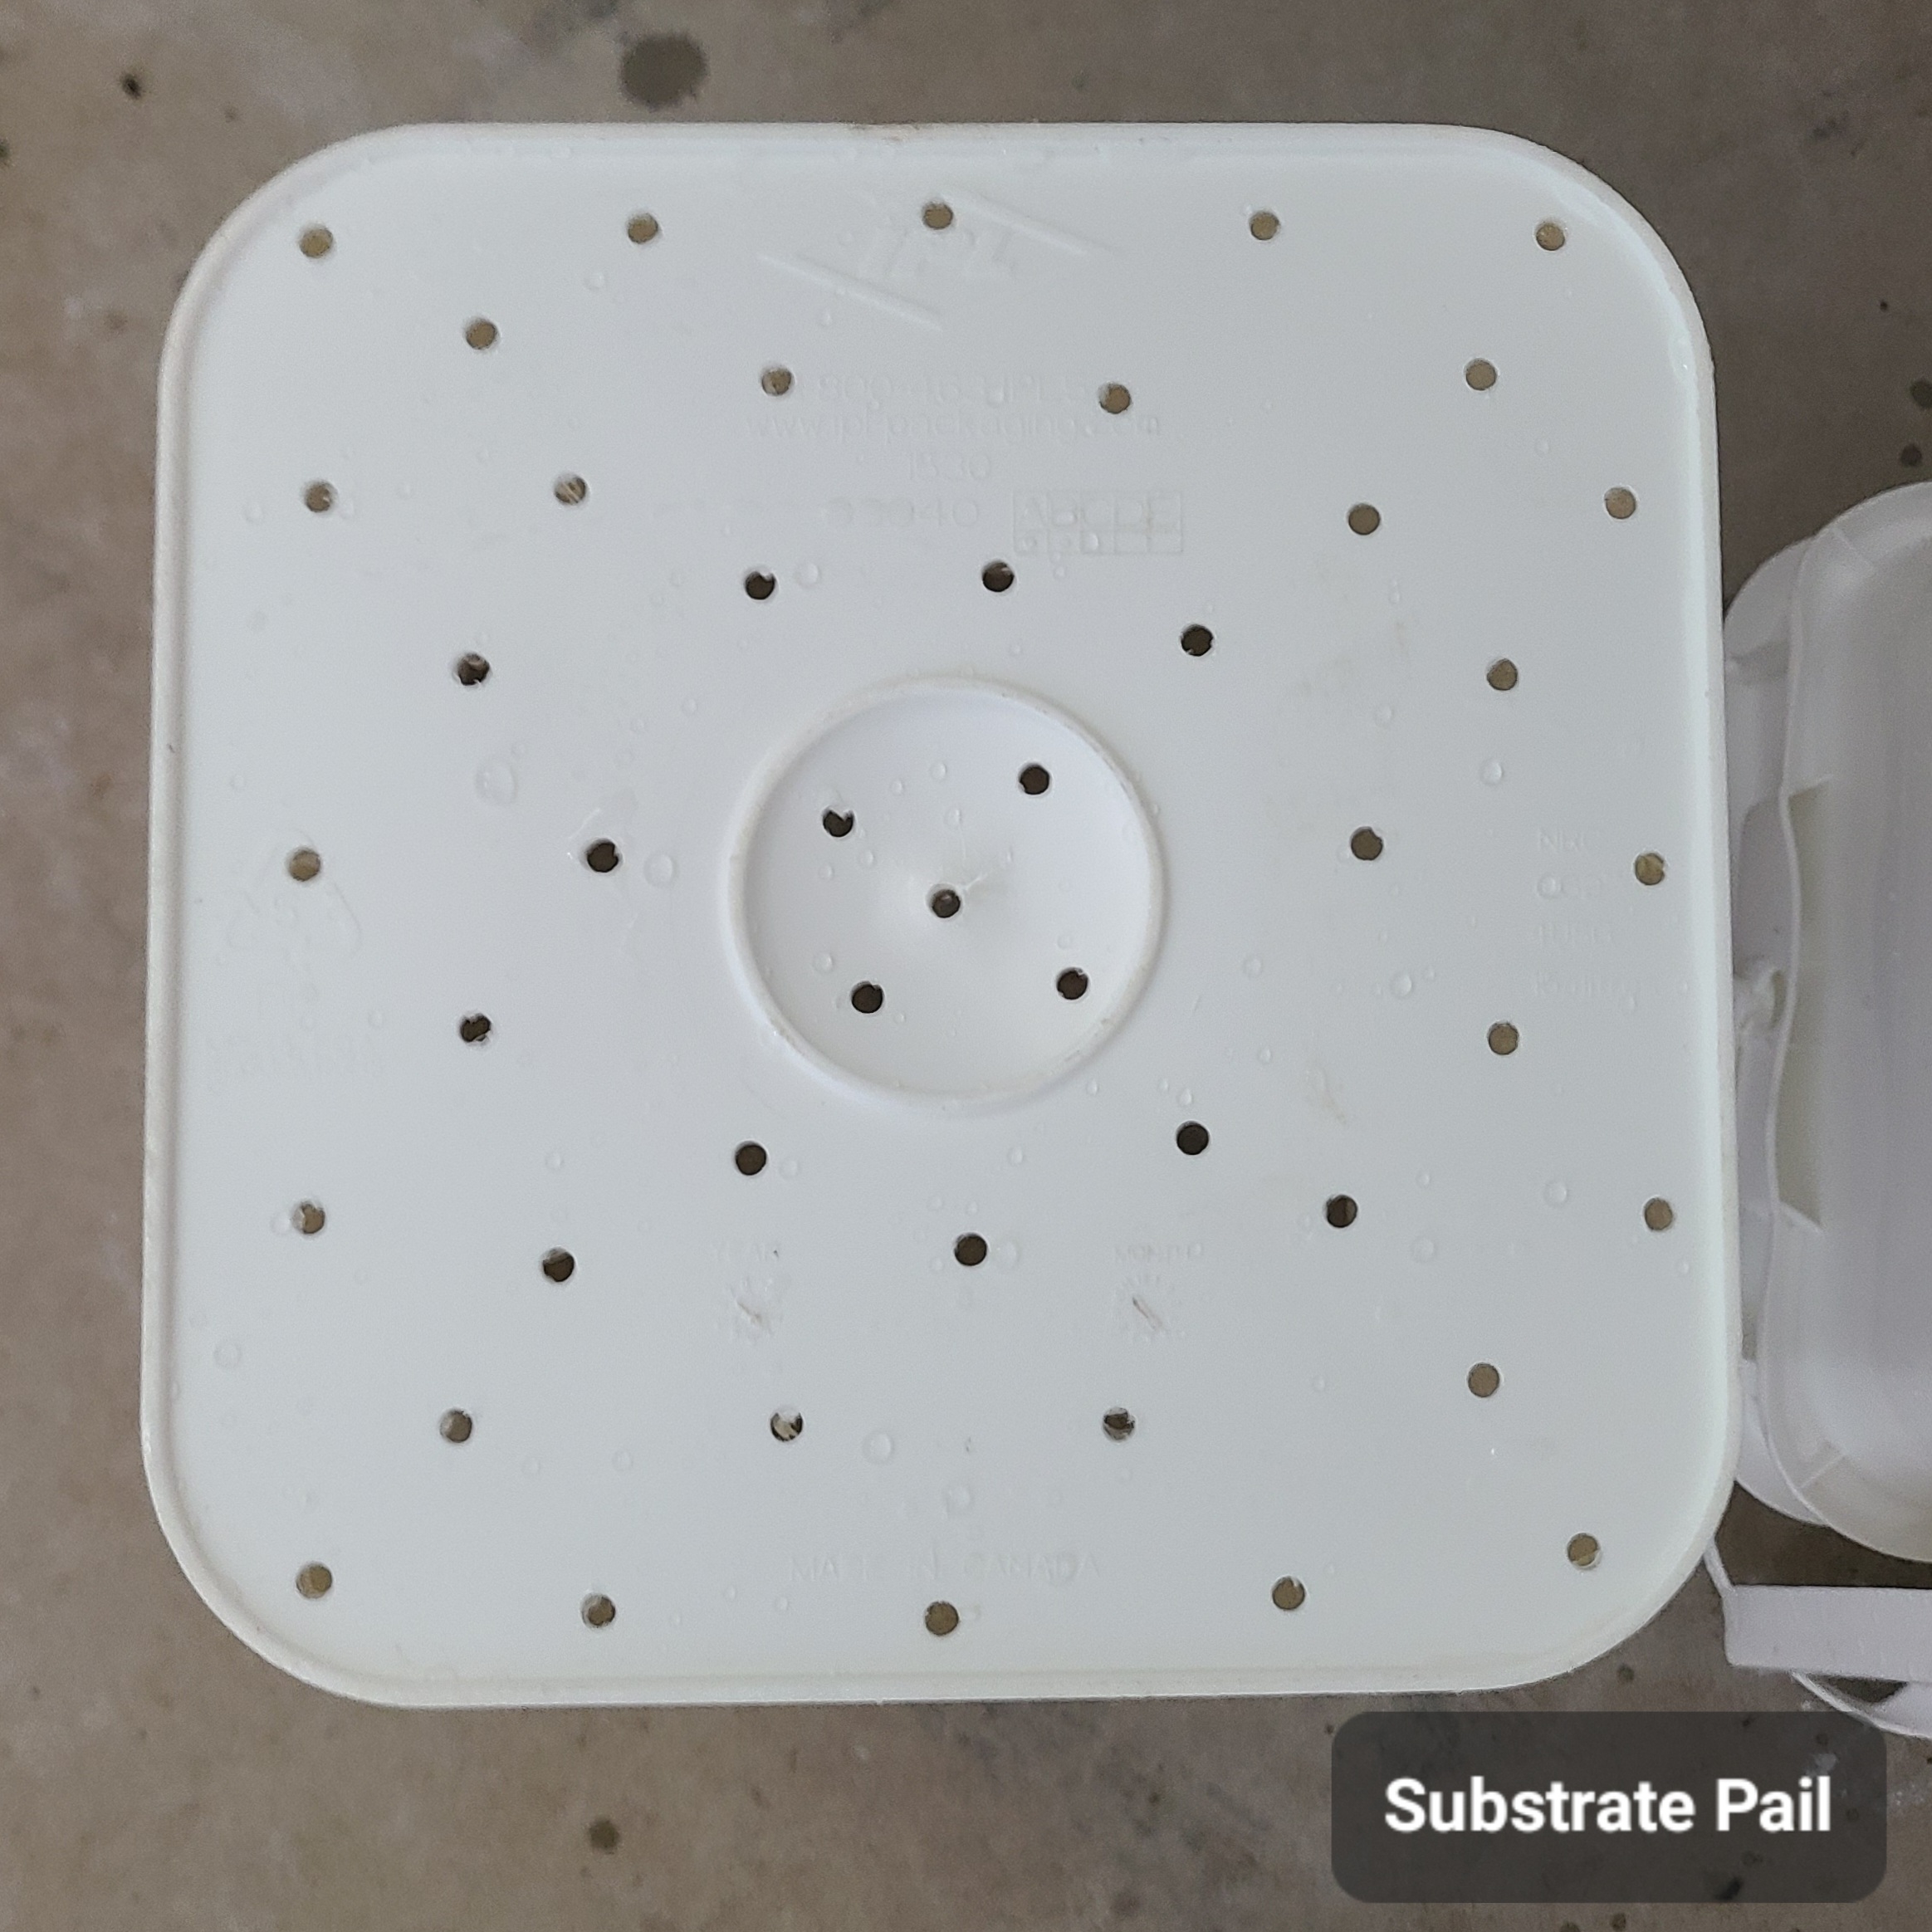
Substrate Pail
This pail is designed to allow the leachate (Liquid) to drain from the top pail that is home to the bokashi and food scraps as they breakdown. The main goal is to provide drainage while keeping the ability to hold the food scraps in the top pail, maintaining separation between the two.
As you can see the spacing and distance between them is scientifically calculated..... Just kidding. Literally started in one corner and worked my way over the surface trying to keep adequate spacing between the holes. The more (and size) of the holes will reduce the strength of the pail. The more you have the more likely the bottom will break when met with a heavy material.
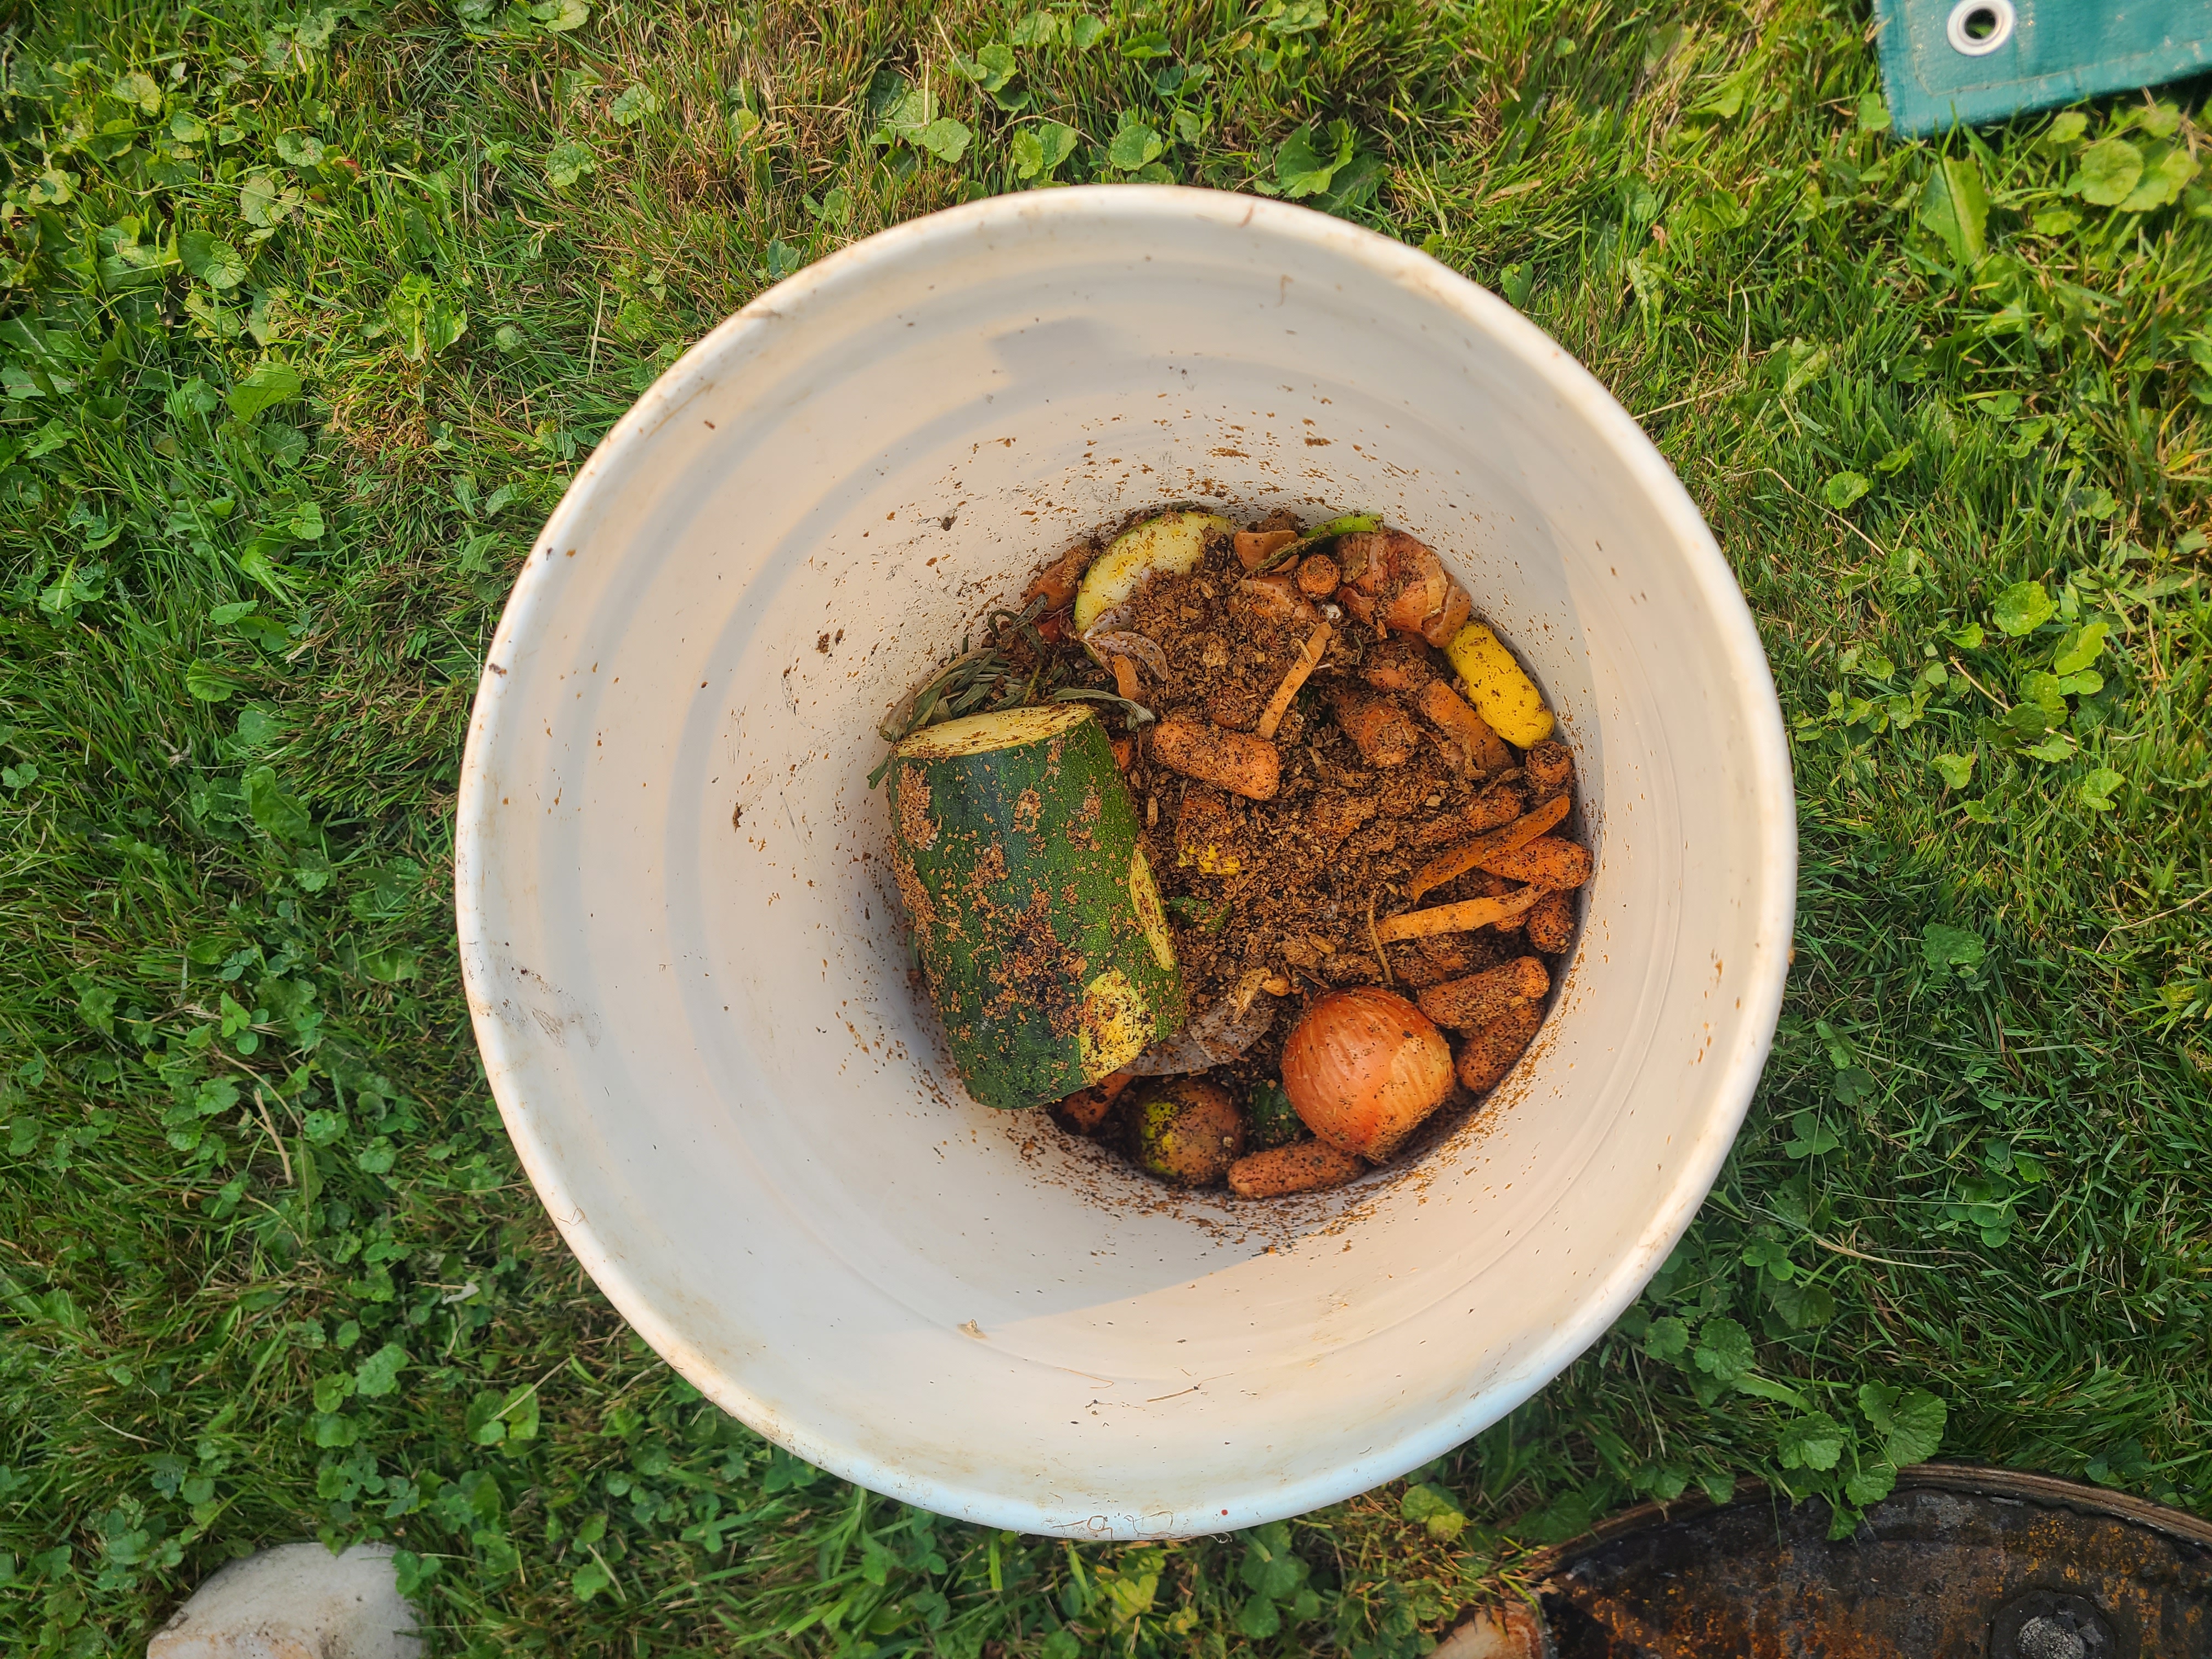
Mixing
Add in some food scraps and a few handfuls of your DIY Bokashi Mix, dump into your Substrate Pail, close the lid and you are good to go. Now we wait.
(This is a spare bucket that I use for a variety of things)